Essential Safety Precautions for DIY Science Projects with Hydrogen Peroxide
Engaging kids in DIY science projects can be a thrilling family activity, sparking wonder and providing cool science experiments that enrich a child’s learning experience. Conducting fun science experiments at home or in a school lab transforms the theoretical into tangible fun science activities. Hydrogen peroxide, a common household compound found in many medicine cabinets and stores, often stars in these simple and easy homemade experiments due to its reactive properties. However, it’s vitally important to adhere to safety precautions to ensure these fun experiments remain a source of joy and not harm. Let’s explore the essential safety measures that must be followed before embarking on any science experiment involving hydrogen peroxide.
Firstly, children should always be supervised by an adult when conducting any cool science experiment. Kids’ natural curiosity can sometimes lead them to venture into unsafe practices which will need an adult’s guidance to navigate. Simple, yet effective, safety gear such as gloves, goggles, and aprons should be worn to protect skin and eyes from potential splashes during these fun science activities. A lab coat or an old shirt can also serve as a barrier between the children’s clothing and any spills. It is also wise to prepare the experiment area by laying down newspaper or plastic covers, not just for easy clean-ups, but also to protect surfaces from any accidental hydrogen peroxide contact.

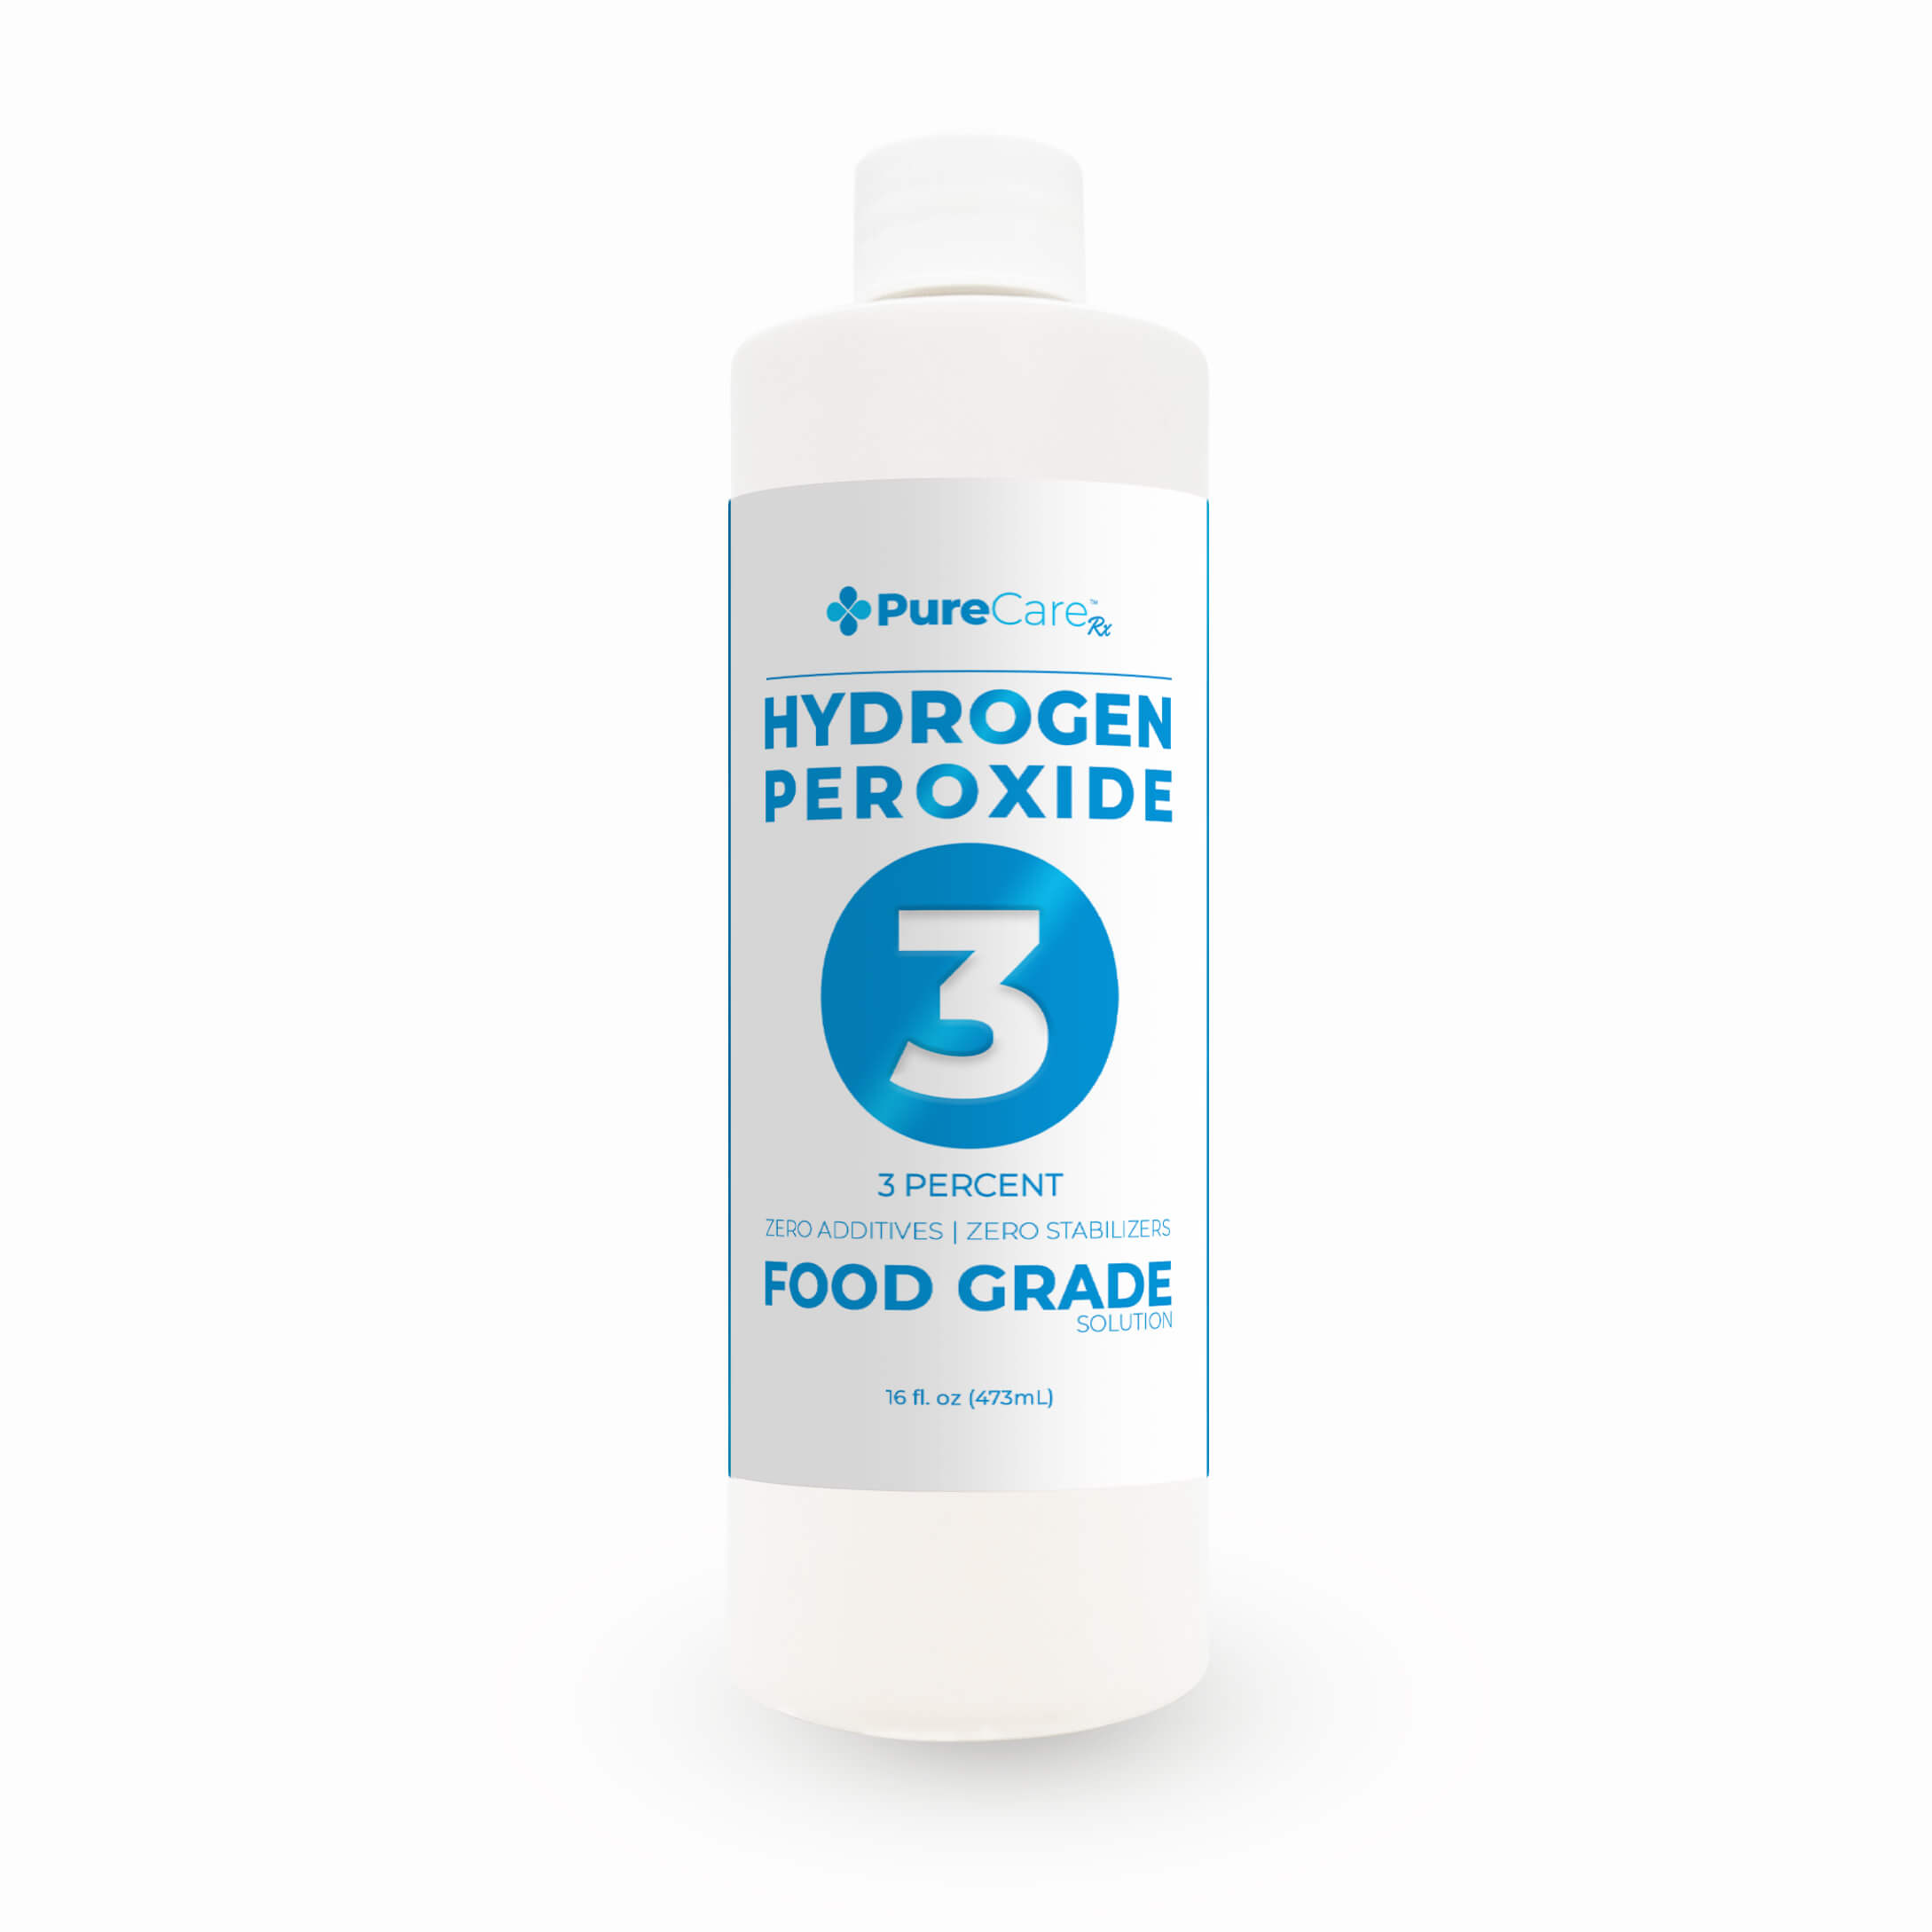
When you’re ready to start your homemade fun experiment with hydrogen peroxide, always ensure you’re in a well-ventilated area, whether it’s a room with open windows or outdoors. This helps to dissipate any fumes that may be produced. It’s also crucial to use only the concentrations of hydrogen peroxide recommended in the experiment’s guidelines, which are typically available in a science project book or reputable online resources. Store-bought hydrogen peroxide is usually a 3% solution, which is generally safe for use in these home science experiments but still requires caution.
By rigorously following these precautions, you can continually create safe and entertaining environments for fun science experiments with kids. Whether you’re a parent, teacher, or simply a science enthusiast, fostering a love for science in an easy and responsible manner is a rewarding endeavor. Through these cool science experiments with hydrogen peroxide, children not only learn scientific principles but also the importance of caution and respect for chemicals, even during fun science activities — lessons that are invaluable both inside and outside the lab.
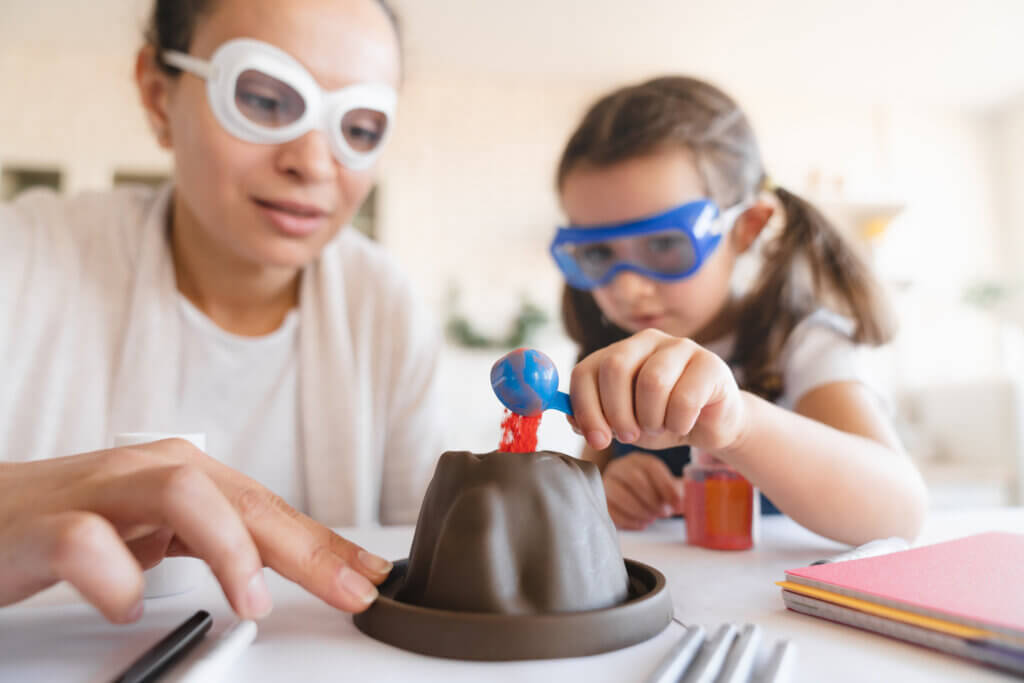
Elephant Toothpaste
How it Works
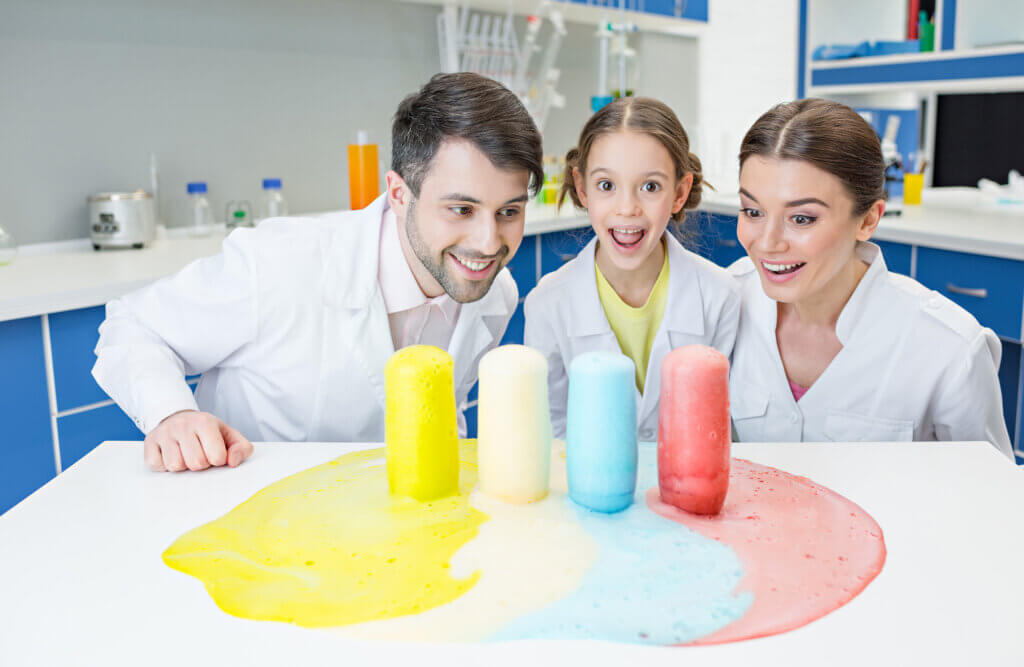
Elephant toothpaste is a captivating and visually striking experiment that showcases a rapid decomposition reaction. The primary ingredients involved are hydrogen peroxide (H2O2), a catalyst typically in the form of potassium iodide (KI), and a surfactant like dish soap. When hydrogen peroxide is mixed with the catalyst, it rapidly decomposes into water (H2O) and oxygen gas (O2). This reaction is exothermic, meaning it releases heat, and the soap helps trap the oxygen gas bubbles, creating the foamy eruption resembling toothpaste squirting out of a tube. The potassium iodide serves as a catalyst, expediting the breakdown of hydrogen peroxide into water and oxygen. This vibrant and engaging demonstration vividly illustrates the fascinating chemical reaction between hydrogen peroxide and the catalyst, resulting in an exciting eruption of foam.
What You Need
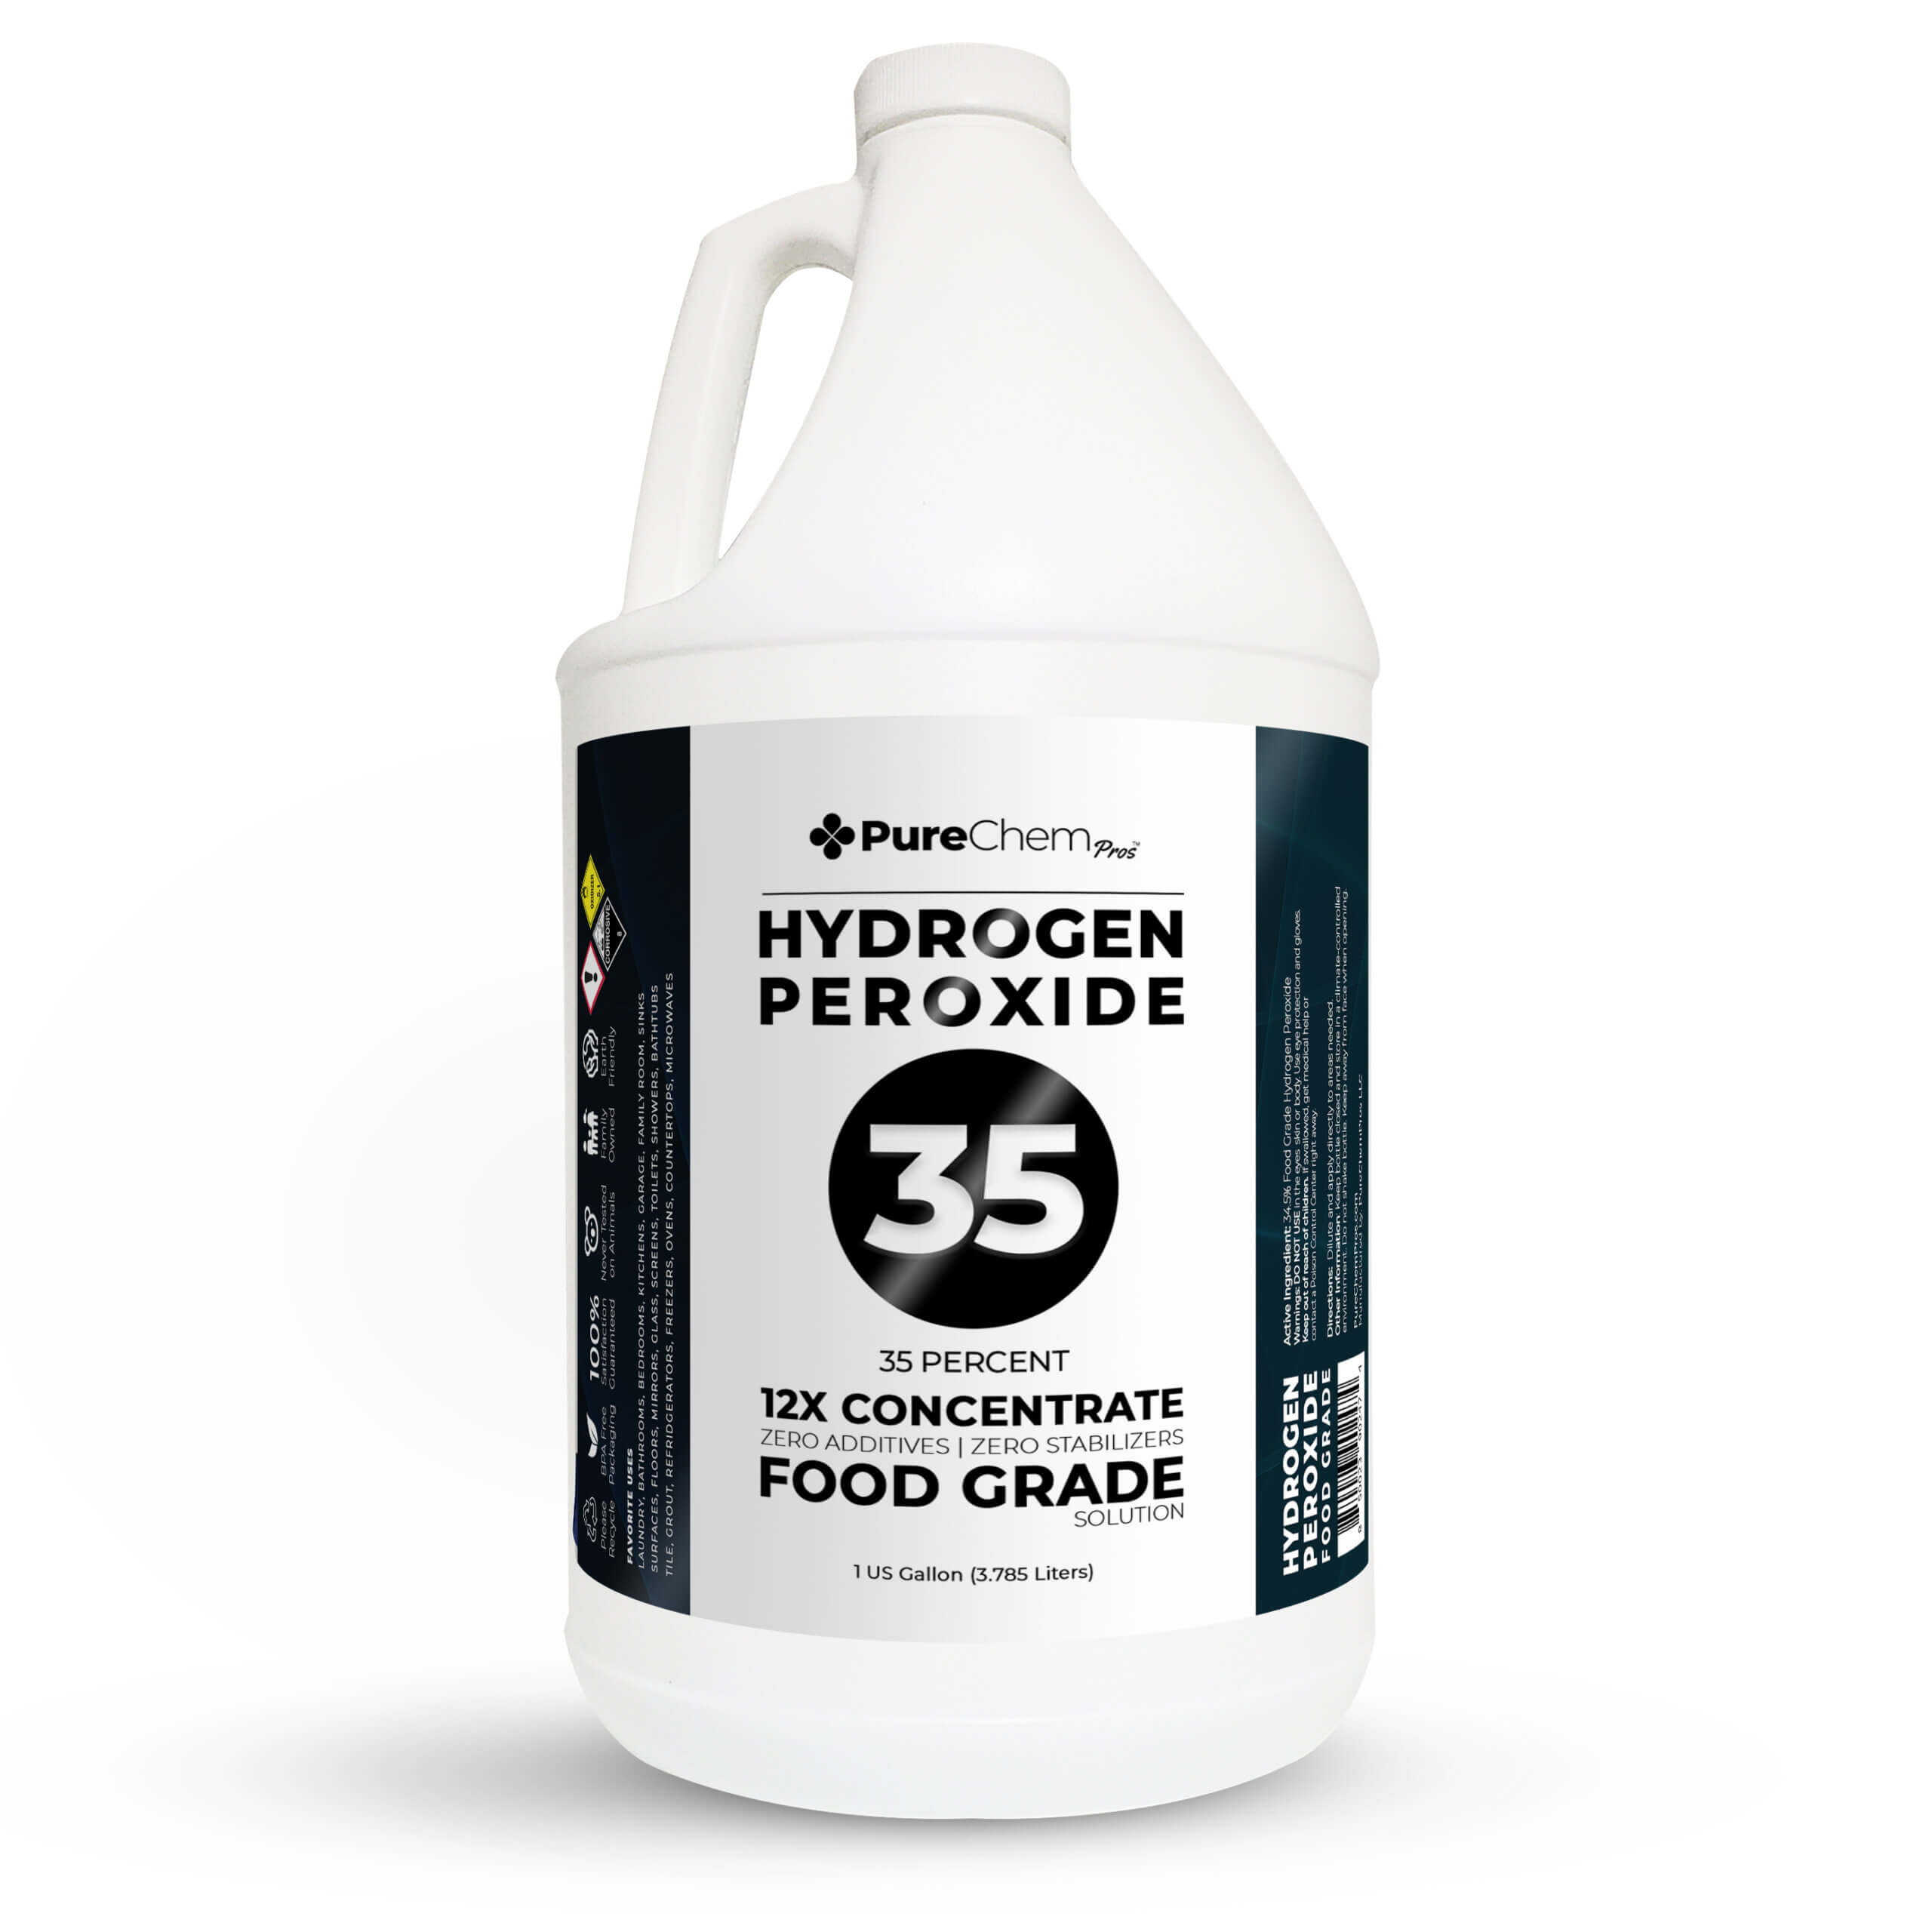
- 35% hydrogen peroxide
- Dish soap
- Food coloring
- A small spoonful of yeast
- Lots of space
- Gloves
- A mixing utensil
- A clear jar/cup
Step-by-Step Walkthrough
- Safety First: Put on your protective gear – goggles and gloves are a must. Even a small amount of hydrogen peroxide can cause irritation, so ensure safety measures are in place.
- Prepare the Workspace: Choose a spacious area as this experiment tends to create a foam eruption. Clear a table or designated space to conduct the experiment safely.
- Gather Materials: Collect all the necessary materials – a clear jar or cup, 3% hydrogen peroxide, food coloring (optional), dish soap, a favorite fragrance (optional), yeast, warm water, a mixing spoon, and a whisk.
- Set Up the Jar/Cup: Pour 3% hydrogen peroxide into the clear jar or cup. Add a few drops of dish soap for a colorful effect. Optionally, add a few drops of your chosen fragrance to enhance the experience. Gently mix these components together.
- Prepare the Yeast Solution: Create a yeast solution by mixing yeast with warm water until it’s thoroughly dissolved.
- Combine Ingredients: Once the yeast solution is ready, swiftly pour it into the jar or cup containing the hydrogen peroxide mixture. Stir the ingredients together, ensuring they’re well combined.
- Observe the Reaction: Step back and watch the magical chemical reaction unfold! As the yeast catalyzes the decomposition of hydrogen peroxide, bubbles of oxygen are released, resulting in a dramatic foamy eruption resembling toothpaste.
Caution: Maintain a safe distance and be prepared for the colorful, bubbly eruption that will take over the jar or cup, showcasing the impressive ‘elephant toothpaste’ effect.
Remember, safety precautions are crucial, and handling chemicals should be done with care and attention to prevent any mishaps. Enjoy the exciting visual display of this scientific experiment!
Creating a Volcano Lava Potion
How it Works
The Volcano Lava Potion experiment demonstrates the rapid decomposition of hydrogen peroxide when mixed with a catalyst. The catalyst initiates the breakdown of hydrogen peroxide into water and oxygen gas. This decomposition reaction is highly exothermic, releasing heat, and the dish soap helps to trap the oxygen gas released, creating a foamy eruption. The foaming action showcases the liberation of oxygen as the hydrogen peroxide breaks down, resulting in an exciting visual representation of a chemical reaction. This experiment not only entertains but also educates about chemical reactions in a captivating and engaging manner, making it a thrilling learning experience for kids and adults alike.
What You Need
- Clean bottle
- Hydrogen peroxide
- Dish soap
- Catalyst (yeast or potassium iodide)
Step-by-Step Walkthrough
- Safety First: Ensure safety measures are in place, including wearing safety goggles and preparing the workspace.
- Set Up the Jar/Cup: Take a clean bottle and add a portion of hydrogen peroxide into it.
- Combine liquids: Add a squirt of dish soap into the bottle, which will trap the oxygen released during the reaction and create foam.
- Combine Ingredients: Introduce the catalyst, either yeast or potassium iodide, to kick-start the reaction. You can use a diluted solution of the catalyst for this purpose.
- Observe the Reaction: Observe the awe-inspiring chemical reaction as the hydrogen peroxide decomposes rapidly, generating oxygen, and resulting in a foamy eruption resembling a volcano’s lava flow.
Creating a Piranha Solution
How it Works
The Piranha Solution may sound fierce, and rightly so—it’s a powerful concoction made by combining concentrated hydrogen peroxide with sulfuric acid.
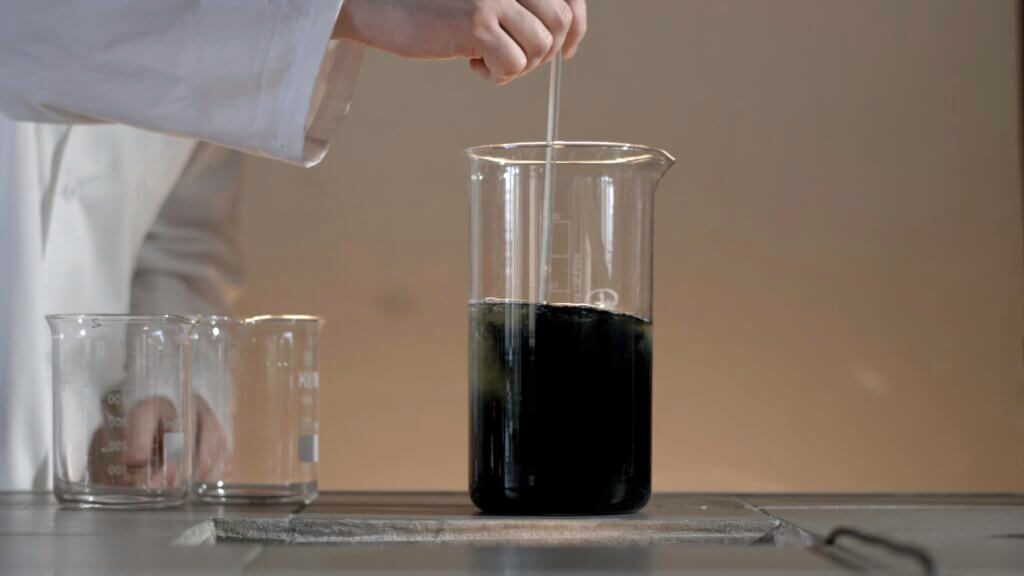
This mix is no ordinary cleaner; it’s like the superhero of lab cleaning solutions, capable of tackling stubborn residues on glassware and surfaces.
When these two ingredients come together, the sulfuric acid triggers the hydrogen peroxide to break down rapidly. This reaction releases a lot of heat and creates oxygen, which, when unleashed, has a remarkable ability to zap away organic residues, leaving surfaces sparkling clean.
However, a word of caution: think of the Piranha Solution as a fire-breathing dragon. It’s incredibly strong and can cause serious harm if mishandled. That’s why it’s crucial to handle it with the utmost care—gloves, goggles, and protective clothing are your knight’s armor when dealing with this potent mix. Always mix the acid into the peroxide slowly and stir gently to prevent an explosive reaction. And after its superhero duty is done, make sure to properly neutralize and dispose of it according to safety guidelines—this powerful solution needs to be handled with respect.
What You Need
- Safety equipment (gloves, goggles, and protective clothing)
- Hydrogen peroxide (high concentration, typically 35%)
- Sulfuric acid
- Water (for dilution, if necessary)
- Glass or plastic container for mixing
- Stirring rod or glass stirring stick
- Cotton Ball
Step-by-Step Walkthrough
- Safety First: Prioritize safety by wearing gloves, goggles, and protective clothing before handling any of the chemicals.
- Prepare the Workspace: Choose a well-ventilated area to perform the experiment and ensure a stable work surface.
- Gather Materials: Pour the required amount of hydrogen peroxide into the glass or plastic container. Note: Piranha solution is highly reactive and dangerous; extreme caution is necessary when handling concentrated hydrogen peroxide.
- Combine liquids: Gradually add the sulfuric acid to the hydrogen peroxide. Take extreme care and add the acid slowly while stirring gently with a glass stirring rod or stick. Always pour the acid into the peroxide, not the other way around, to prevent vigorous reactions.
- Observe the Reaction: As the solution reacts vigorously, producing heat and emitting fumes. The mixture will heat up significantly as the reaction progresses, hence the name “Piranha solution.” Next add a cotton ball to the solution. Once the cotton ball comes in contact with the solution it burns right there and then, and the whole jar is taken over a black color. Pretty amazing right? You can spend the whole day adding other fun stuff and watch it burn. Kids love this stuff.
Allow the solution to cool before use, ensuring it’s properly neutralized and safe for disposal according to hazardous waste disposal guidelines
Start a Fire Without Matches
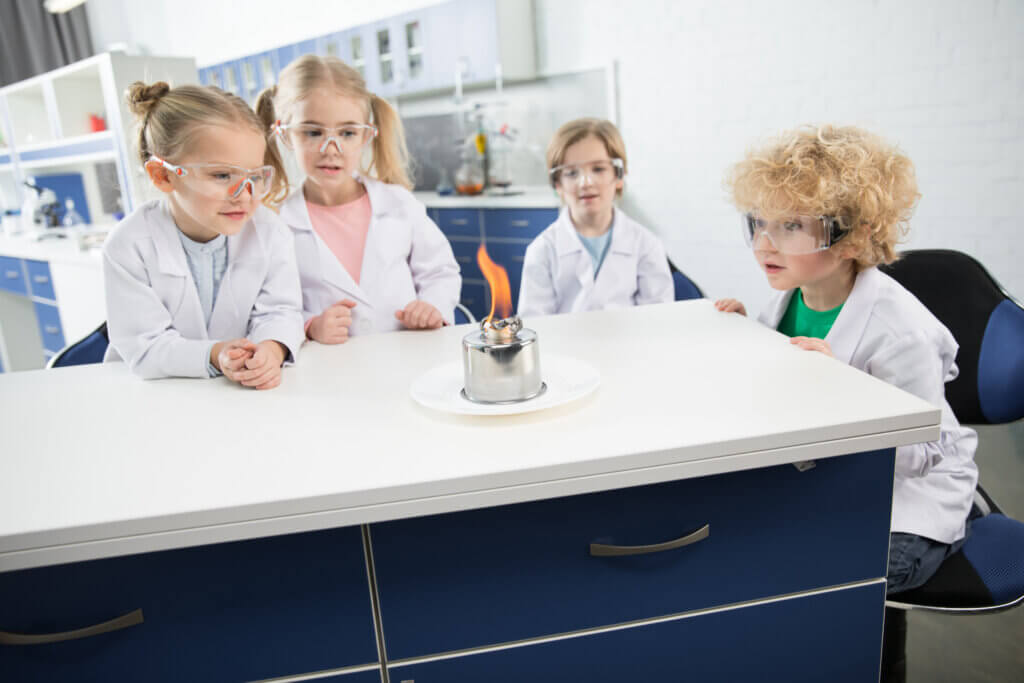
How it Works
The fascinating reaction that enables starting a fire without matches using hydrogen peroxide and potassium permanganate involves the oxidation of glycerin by hydrogen peroxide. Though glycerin is not explicitly mentioned in the materials, it’s formed as a byproduct when potassium permanganate reacts with hydrogen peroxide. Glycerin is highly susceptible to oxidation and readily undergoes combustion. When the concentrated hydrogen peroxide comes into contact with potassium permanganate, it rapidly decomposes, releasing oxygen. This oxygen, in turn, reacts with the glycerin formed, causing a quick exothermic reaction that produces heat and smoke, resembling the visual effect of fire. The chemical reaction is an illustrative example of how certain compounds, when combined in the right conditions, can create an exciting spectacle that mimics fire without the need for conventional ignition sources like matches.
What You Need
- Splash-free goggles
- Potassium permanganate
- White lab coat
- A clear small bowl
- 35% hydrogen peroxide
- Syringe
- Ceramic plate
Step-by-Step Walkthrough
- Prioritize safety by wearing splash-free goggles and a white lab coat to protect yourself during the experiment.
- Take a small clear bowl and add potassium permanganate into it.
- Using a syringe, fill it with 35% hydrogen peroxide, ensuring it’s not filled up to the brim.
- Place the bowl containing potassium permanganate onto a ceramic plate.
- Slowly and steadily inject the hydrogen peroxide into the bowl by pressing the syringe gently.
- Once the hydrogen peroxide comes into contact with the potassium permanganate, observe as smoke begins to rise, indicating a chemical reaction that mimics fire.
- For a larger-scale experiment, you can use an open large flask following the same procedure as mentioned earlier.
- After completing the experiment, ensure proper ventilation by opening windows to eliminate any burning smell. Additionally, wash the used bowl under lukewarm water to remove any residues.
Potato Catalase Experiment
How it Works
When hydrogen peroxide (H2O2) comes in contact with an uncooked potato, a fascinating reaction occurs due to the presence of an enzyme called catalase in the potato. Catalase is abundant in living organisms, including plants, and it helps break down hydrogen peroxide into water (H2O) and oxygen (O2) gas. This enzyme speeds up the decomposition of hydrogen peroxide into its constituents, creating bubbles of oxygen gas that you observe as foam. However, in a cooked potato, the high temperature from cooking denatures the catalase enzyme, rendering it inactive. As a result, the cooked potato doesn’t produce the same bubbling reaction with hydrogen peroxide as the enzyme responsible for catalyzing the breakdown of hydrogen peroxide has been altered and can no longer facilitate the reaction.
What You Need
- Hydrogen peroxide 3%
- Uncooked potato
- Cooked potato
- Cutting board and knife
- Bowl or container for mixing
- Spoon or spatula for stirring
Step-by-Step Walkthrough
- Gather the materials: hydrogen peroxide, an uncooked potato, and a cooked potato.
- Place the uncooked potato on a cutting board and carefully cut it into small pieces or slices.
- Take a separate bowl or container and pour some hydrogen peroxide into it.
- Add the cut pieces or slices of the uncooked potato into the bowl containing hydrogen peroxide.
- Observe as the uncooked potato reacts with the hydrogen peroxide, producing bubbles of oxygen due to the presence of the catalase enzyme.
- Next, cut the cooked potato into similar-sized pieces or slices.
- Place the cut pieces of the cooked potato into a different bowl containing hydrogen peroxide.
- Notice that the cooked potato does not produce the same bubbling reaction as the catalase enzyme in the cooked potato has been altered by the cooking process and cannot catalyze the breakdown of hydrogen peroxide.
Fingerprint Enhancement
How it Works
This experiment is an entertaining and straightforward way to engage in mind-stimulating activities with children, creating a scenario resembling a crime scene, complete with different characters, to fully immerse in the experience of revealing hidden fingerprints.When 35% hydrogen peroxide is mixed with a small amount of distilled white vinegar, it creates an acidified peroxide solution. This solution has a remarkable ability to react with the natural oils present in human skin, which are often transferred onto surfaces when a person touches them. These latent fingerprints, typically invisible to the naked eye, become visible when exposed to the acidified peroxide solution, making it a handy method for revealing hidden fingerprints on surfaces.
What You Need
- 35% hydrogen peroxide
- Distilled white vinegar
- Gloves
- Measurement jar
Step-by-Step Walkthrough
- Begin by obtaining a measurement jar and pour 35% hydrogen peroxide into it, filling it up to 400 ml.
- Add a small quantity of distilled white vinegar, precisely 1 ml, into the measurement jar containing the hydrogen peroxide.
- For testing purposes, place the object or material to be inspected—such as a ring or a fake bullet—into the jar containing the prepared solution.
- Allow the material to soak in the solution for a duration of 12 minutes.
- After the allotted time, use gloves to retrieve the material from the jar.
- Inspect the material under bright light, and you’ll observe previously unseen fingerprints become visible all over the surface.
The Takeaway
The experiments detailed above offer engaging and accessible experiences suitable for conducting at home with children, serving as wonderful entry-level introductions to scientific exploration. Safety precautions are paramount when dealing with chemicals, ensuring a secure environment for both you and your children during experimentation. Selecting the appropriate high-quality hydrogen peroxide, specific to the required concentration for these experiments, is crucial. While hydrogen peroxide is commonly found in households, acquiring the right grade and concentration is key to achieving optimal and safe results. Prioritizing purity and quality is essential for a secure and successful experiment.
So, why wait? Secure your kit today for a fulfilling and safe science exploration journey!
Order you set today!
